Survival School: Psst . . . Do You Wanna Build a Safe House?
Summary
 I promise, this won’t devolve into a sing-along about z-poc prep.
The best survival plan begins long before you and your family comes face-to-gnashing-teeth with danger. Figuring out where you’ll live now that home-sweet-home is covered in zombie drool should be high on the priority list. For some, it’s not ideal to leave their home due to disability, young children and infants, elderly parents, etc. Others already have their evacuation plans in hand with every route mapped out so they hopefully land somewhere z-free with a place to settle down. For the record, we don’t suggest an old prison, it doesn’t seem to end well.
For any location you choose to settle down, there are a few basic things to do which will give you a little more time for fight or flight if the zombies find you.
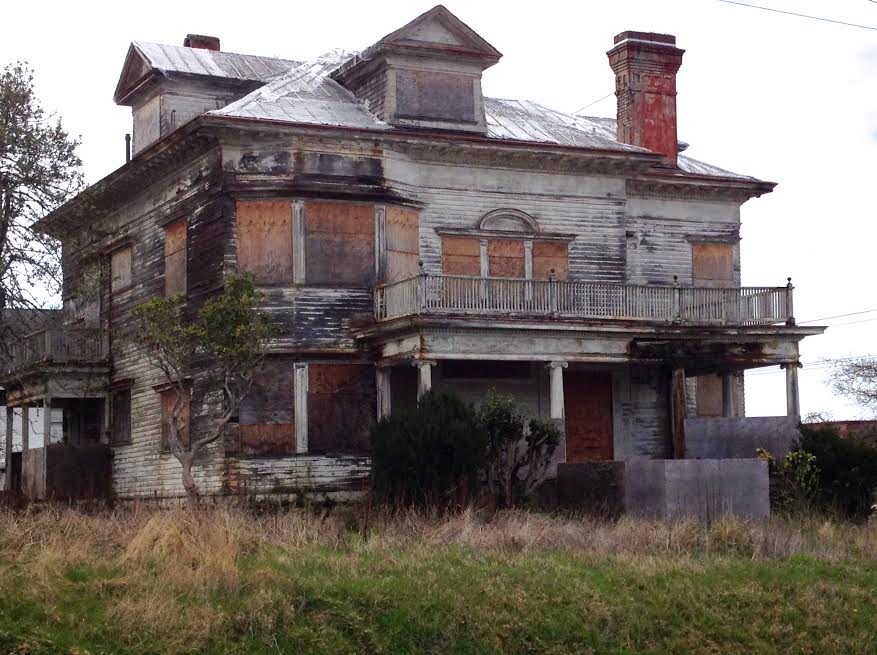
- Cover every single window. Ditto with doors, leaving two with a relatively easy way to exit just in case. We suggest using corrugated metal, 5/8″ exterior grade plywood, or marine plywood. Screwing the boards in place will make them stronger. You may want to pack a battery-powered drill in your supplies cache. If that’s not doable, hammer and long nails will work. Place the boards on the outside of the house—it’ll prevent a horde from using sheer weight to push them free. Don’t forget to secure the garage door! You’ll want the extra safe space, anyway.
- Grab anything outside your safe house which can be used as a battering ram and bring it inside—trash cans, barbeque, lawn furniture, gardening equipment, etc. We’re not saying the zombies will be brighter than the dirt on their feet, but one must take into account possible human invasion as well. Particularly people who have grown desperate and angry over failure to secure a place of their own.
- Take the time to do a little yardwork. Clearing away grass, shrubs, and trees within a 10-yard radius around the house will prevent accidental fires. The cleared wood (if dry, or set aside to dry) will come in handy, anyway. Plus, if you get rid of the lawn, there’s not much holding you back from finally using that flamethrower you picked up on a whim. I kid. Mostly.
- Bring all of your supplies inside the safe house—water, tools, food, clothing lines, wash buckets, firewood, etc. If you cannot secure your vehicle(s) inside a connected garage, drain the gas and bring it inside, as well.

It may not look like much, but it could be home sweet home with the right planning and preparation.
Here are a few health safety tips to remember about your newly secured safe house:
- Establish a clean room for cooking and food storage. In another room, create a clean place to tend to medical emergencies. I’d highly suggest using vinegar to clean these rooms, not bleach. With low water supplies, you may not be able to rinse away bleach to safe-to-handle levels. However, keep bleach on-hand to purify washing water.
- Do not use a barbecue indoors! If you are without a propane stove, plan to create a secure, well-ventilated patio outside one of your two emergency exit doors. As a bonus, this can act as a staging area if you must evacuate from the safe house.
- Keep the generator outside. Carbon monoxide poisoning isn’t pretty. This is the only survival item you must leave outside. Hey, if you build that patio, it can go there, as well.
- Do not use kerosene for your indoor lamps. It smells awful and the impurities aren’t good for your lungs. Opt for lamp oil and make sure to read the label to see if the brand is safe for indoor use.
- Keep all flames away from the secured windows/doors. If there is a breach, the flame will likely fall over. Don’t make the zombies’ job easier by giving them a way to burn you out of your safe house.
- Signs of carbon monoxide poisoning: Nausea, dizziness, weakness, confusion, disorientation, vomiting, and sleepiness.
