You’ve been hiking through the wooded areas of the Pacific Northwest, keeping an eye peeled for zombie activity. Things have been a bit quiet — which is good, you’re not complaining … when BAM! Out of nowhere, your sweet tooth kicks in and it’s running on overdrive. You eye your fellow travelers and wonder whether sweetbreads really are sweet. After doing a quick check to make sure you haven’t been bitten without realizing it, you notice some bushes in the distance.
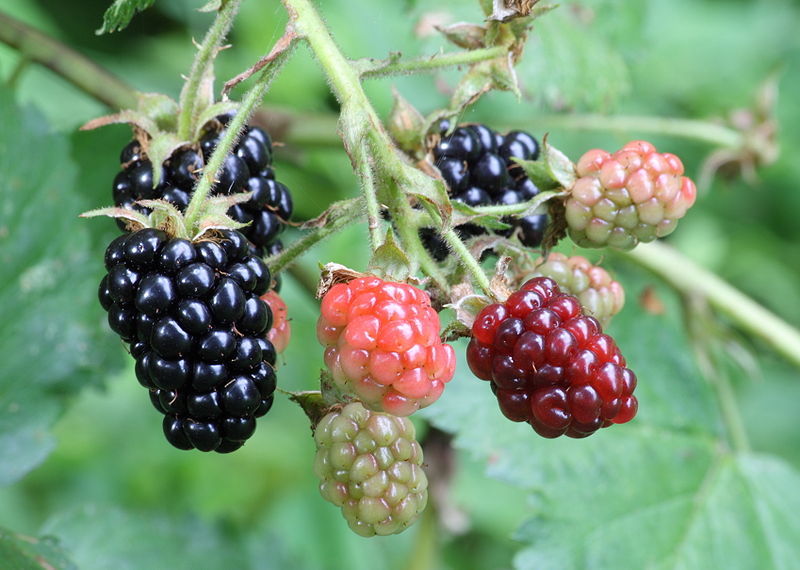
Boo-yah!!! You’ve hit the jackpot. Wild blackberries for everyone. All you have to do is pick them. Then the monster idea hits… Blackberry Cobbler. A desert for kings served up camp-style for you and your fellow Zombie Survival Crew members.
Grab whatever you can find to hold the berries and dance your way to the berry patch.
Post a sentry to make sure no wandering zombies, or hungry bears try to fight you for the berries.
Do NOT walk through the patch of nettles. Or at least make sure you’re wearing boots and the thickest pair of socks you have with you.
Pick as many berries as you can carry. While some will go in the cobbler, the berries are great to eat on the go, and have plenty of antioxidants and all sorts of other good things for you.
When you get back to camp, melt a stick of butter (or margarine) over the fire.
Mix together 1 cup of self-raising flour, 1 cup of sugar, and 1 cup of milk.
Pretend it is zombie brains and beat well.
Pour the melted butter into a 2-quart-ish pan (if you didn’t melt it in the pan to begin with)
Pour the floury, sugary goodness over the butter — BUT DO NOT STIR.
Add berries (about a quart to the mixture). DO NOT STIR
Keep on the fire until the crust rises over the berries and turns golden brown.
Try not to drool while waiting.
Serve hot with a little cream, or for a real treat, a scoop of ice cream … if you can find any.
This tasty treat is a favorite of the Purple Brigade leader and has the Oracle stamp of approval. Oh, and if you have an oven available, preheat to 350F.
As part of our collective efforts to prepare for the z-poc, ZSC command has undertaken a mission to bring you a series of recipes to keep the body strong and the spirit lifted during dark times. Now, don’t go thinking you’ll be cooking these up in the early days of the infection. You’ll be too busy slaying walkers on the move for this kind of fare. But once the initial dust settles and you’re in the fight for the long haul, you’re going to want something other than the beef jerky, energy bars and chocolate you’ve got stashed in your Go Bag.
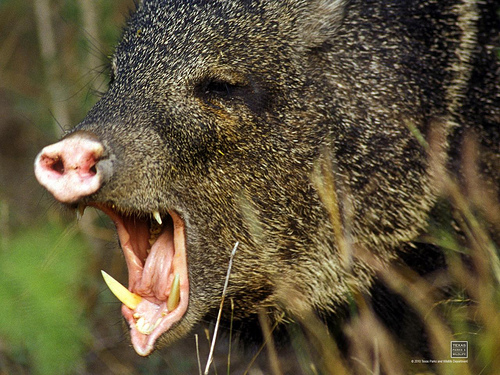
Being on the run from the shambling horde doesn’t leave a lot of time for cooking every day, so a good way to get that protein you’ll need is to make some jerky out of whatever large game is in your area when you can’t loot any from surrounding stores any longer. Heck, you could probably even use this for javelina (native to the Southwest and quite the nasty beast in temperament).
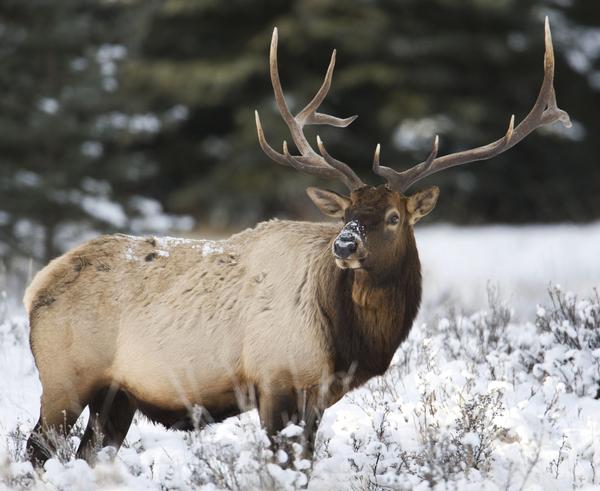
Most people don’t realize that Arizona and the Southwest have deer and elk, along with the mountain lions and javelina, so this very basic recipe really goes a long way. I haven’t tried this using javelina, and that’s a different type of meat, but hey, it’s worth a shot. Either way, the meat from a javelina is good to eat. Have a pig roast, if anything.
We’ll just go with the deer/elk/buffalo recipe. I’m also assuming you know how to skin these animals. If you don’t, that should be on your “Top 10 Things I Need to Know for the Zombiepocalypse” list.
First, you’ll want to trim off all visible fat from the meat because it becomes rancid. Cut the flank steak lengthwise with the grain into long thin strips no more than ¼ inch thick. Rub it aggressively with salt cover for 10 to 12 hours so it’ll absorb the salt and release some of its natural juices. At this time, you can add additional spices, fruits, liquids, etc. This is why I require spices in the Yellow Brigade Go Bag (you’ll have to be logged in to view that link).
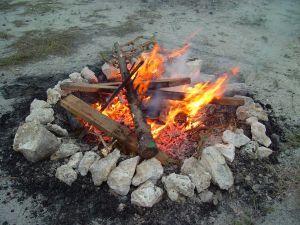
Next, you’ll need to build a scaffold to support the meat over a slow fire beneath it; the heat and the smoke completes the process in half a day, and with an occasional sunning, the meat will keep for months.
Not too hard, right? Just get yourself somewhere safe for a couple of days so you can do this and you’ll have that protein you need for a good long while, depending on the size of the animal, of course.
Happy hunting!
I’d like to thank my ex-husband, the bow hunter from Wyoming, for helping me with this.